
Noughts and Crosses / Tic Tac Toe with Python Turtle
- Vladimiras Malyskinas
- Python tutorials
- April 15, 2024
Table of Contents
Introduction
Note
This tutorial was adapted from Free Python Games by Grant Jenks.
You probably know how to play Noughts and Crosses (or Tic Tac Toe). It is a two-player game, which is simple on paper - two players take turns marking a three-by-three grid with X’s and O’s. The first player to put three of their markings in a horizontal, vertical or diagonal row - wins! As I have said before, the game might seem simple on paper but let’s try to recreate it using the Turtle module in Python!
Planning
First, we need to plan our program. We can do that by playing Tic Tac Toe in our imagination - let’s start!
- Step 0
- Step 1
- Step 2
- Step 3
Let’s plan our game…
Remember, in this part, we are only planning - not programming!
What is the first thing we do on a piece of paper when we want to play Tic Tac Toe?
Try to come up with your own answer and then head to Step 1!
We draw a grid!
Tip
In programming, we need to simplify. A grid can be seen as nine squares or only four lines!
Now that we have a grid, what is our next step?
Draw the X and the O!
Inside the grid, X’s and the O’s are drawn. But let’s think in detail, how should they be placed?
Each mark should be placed one after another, where the player clicks.
In Tic Tac Toe the players take turns to draw their marks. Although we cannot draw on our computer screen, we will track where each player clicks.
And that is it! If you have gone through the steps, you should know the plan already. But you can open the menu below to look at it in full.
- Create the playing grid.
- Draw an X and draw an O.
- Create code to place each mark one after another, wherever the player clicks.
As easy as 1, 2, 3!
Coding
Now that we have a plan, we can start coding.
Setting up the window
Our game cannot exist nowhere - it requires a window, which will display our game and will allow us to click. Let’s review which commands we will need to use to create it:
Note
All code will be hidden in these unfolding menus. Before opening them, try to complete the code yourself!
This one doesn’t count :)
import turtle  # Import the turtle library

# Set up the game window
window = turtle.Screen()  # Create a Screen, where our turtles live
window.setup(600, 600)  # Set the size of our window
This gives us a blank screen, a canvas we can paint our grid on.
Drawing the grid
Now that we have created a window, we can start drawing the playing grid.
Tip
In programming, we need to simplify. A grid can be seen as nine squares or, even more simply, only four lines!
Let’s follow the tip and make a reusable function (custom command), which will create a line - let’s call the command draw_line. It will have four parameters (promises we make to the function) (start_x, start_y, end_x, end_y).
But who will create that line? Before creating the function we will need to create a turtle that will draw the grid, let’s name the turtle grid. Try to complete this task and check your answer!
grid = turtle.Turtle()  # Create the grid turtle

def draw_line(start_x, start_y, end_x, end_y):
    grid.penup()  # Make sure the turtle doesn't draw going to the starting position
    grid.setposition(start_x, start_y)
    grid.pendown()
    grid.setposition(end_x, end_y)
Now that we have a function that draws a line, we can use it to draw out the grid! You can use the image below to help with start and end coordinates.

grid = turtle.Turtle()  # Create the grid turtle

def draw_line(start_x, start_y, end_x, end_y):
    grid.penup()  # Make sure the turtle doesn't draw going to the starting position
    grid.setposition(start_x, start_y)
    grid.pendown()
    grid.setposition(end_x, end_y)

def draw_grid():
    draw_line(-300, 100, 300, 100)
    draw_line(-300, -100, 300, -100)
    draw_line(-100, 300, -100, -300)
    draw_line(100, 300, 100, -300)

draw_grid()
Tip
You can always personalise your grid by changing the grid turtle. For example, you can change the colour of the grid to red with grid.color('red')
Drawing the X and the O
We have a grid and we need to add X’s and O’s to it. We will start slow by having a new turtle, called player draw the symbols in the middle of the screen. Let’s start with the draw_x() and draw_o() functions. A few things to note:
- The
playerturtle needs to draw the symbol in the very middle of the screen. - After drawing the symbol, our
playerturtle should face the same direction when it started drawing it. - Remember to not repeat yourself - try to use loops when possible.
player = turtle.Turtle() # Create the player turtle
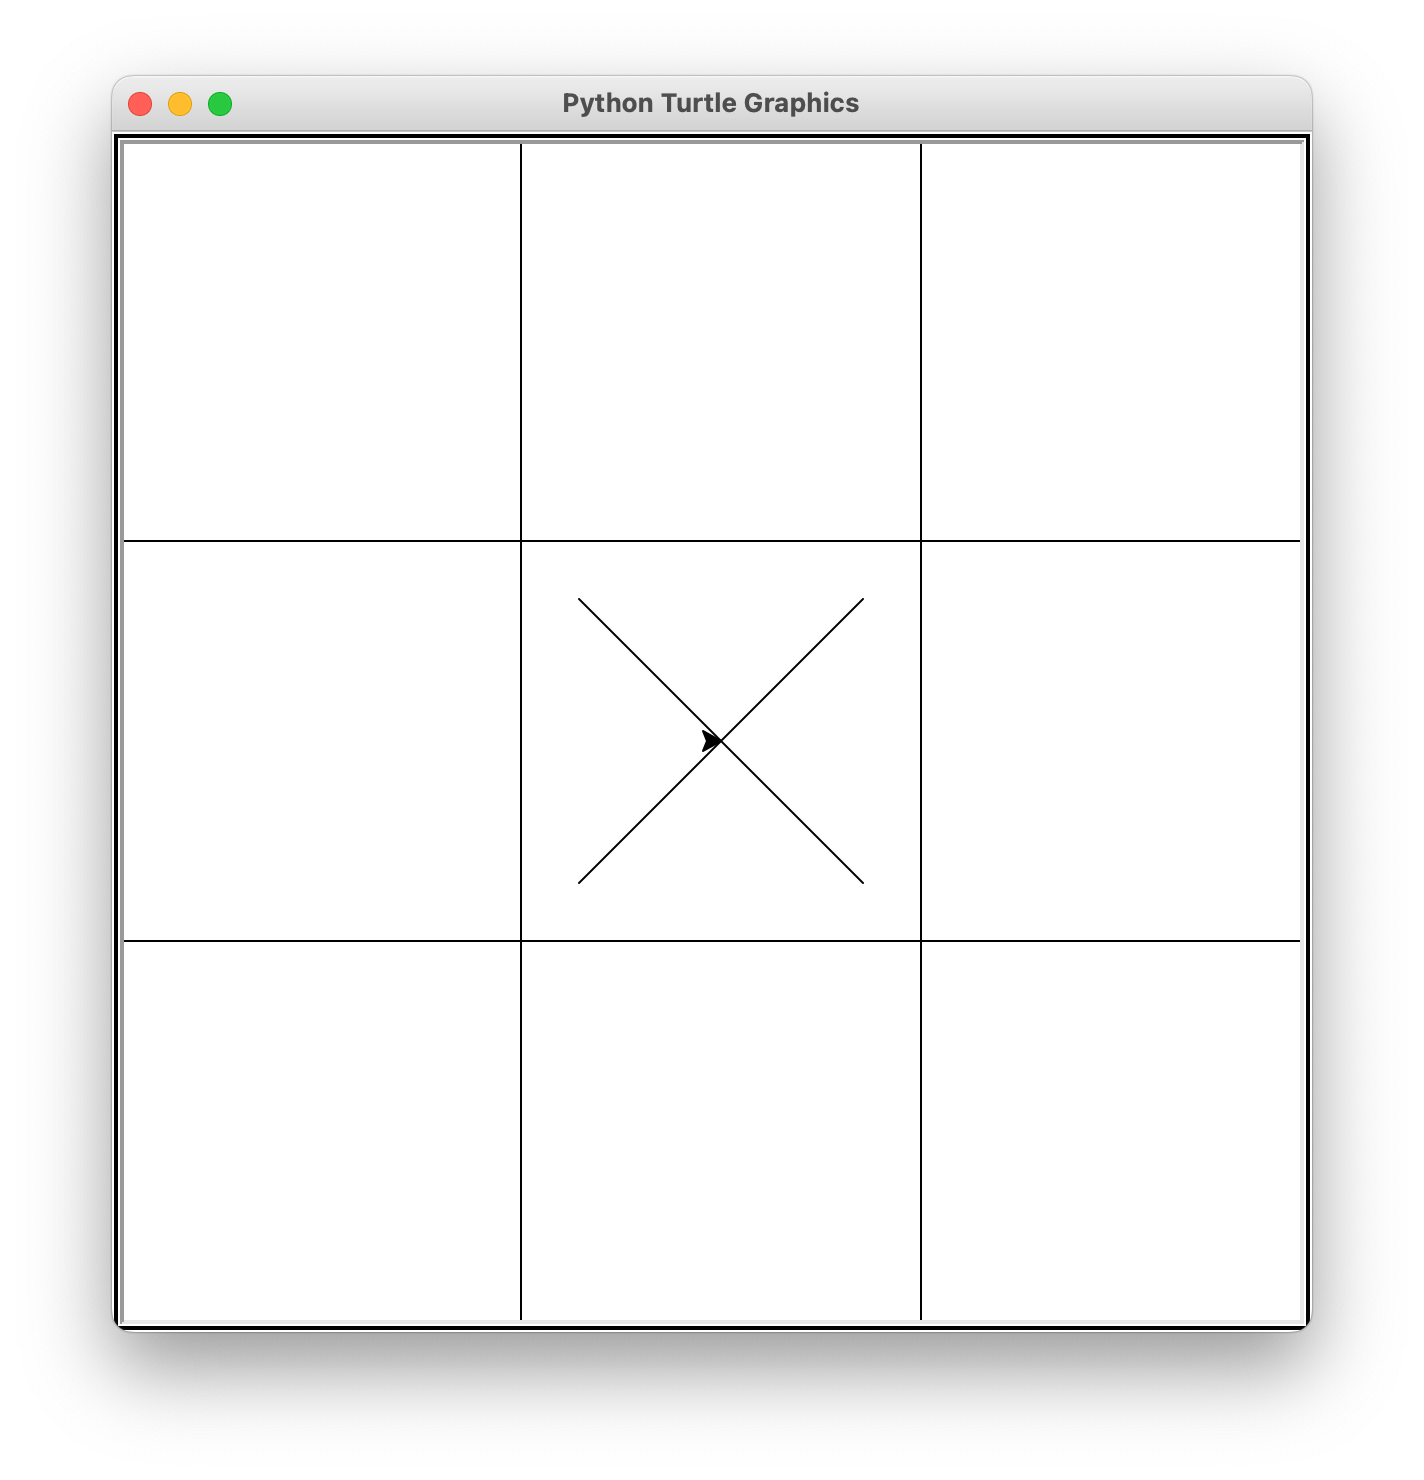
def draw_x():
player.color("black")
player.left(45)
for _ in range(4):
player.forward(140)
player.forward(-140)
player.left(90)
player.right(45)
draw_x() # Ask Python to run the command to test it out
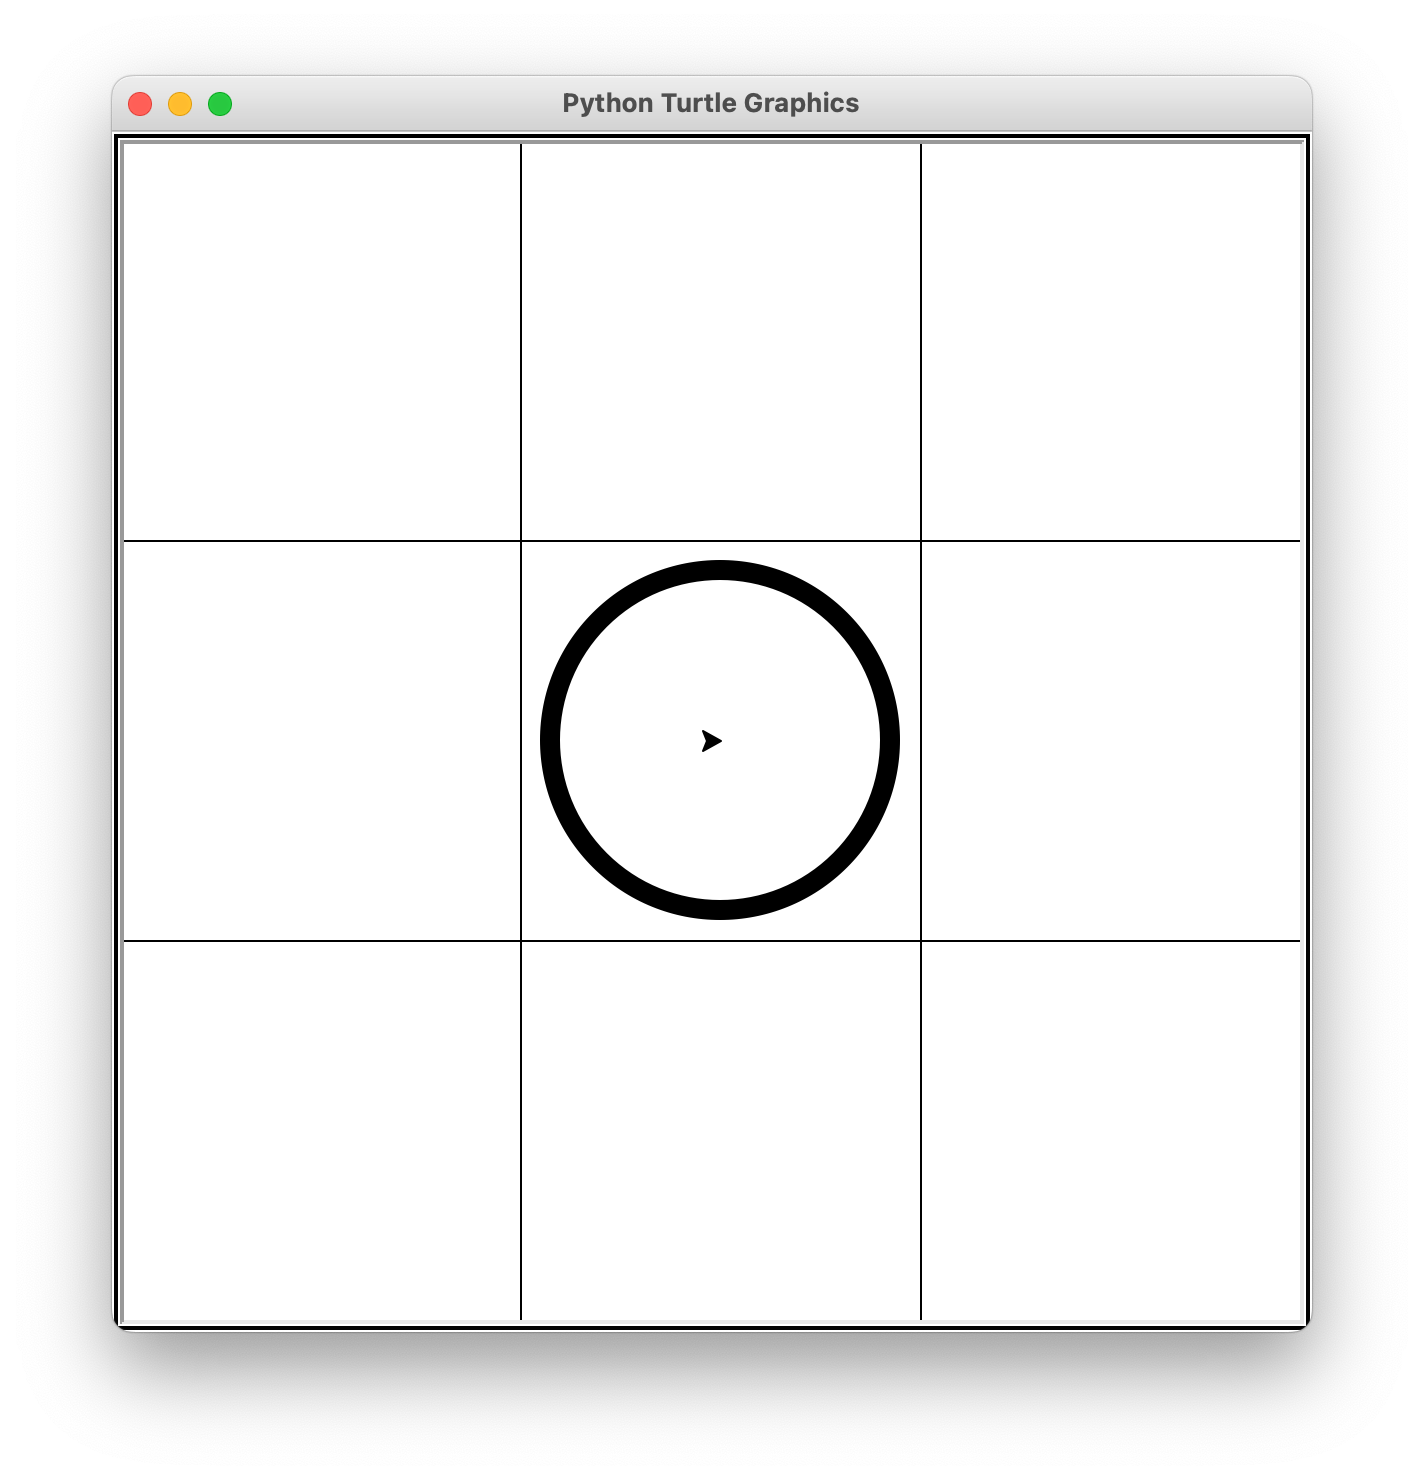
def draw_o():
    player.color("black")
    player.dot(150)
    player.color("white")
    player.dot(130)

draw_o()  # Ask Python to run the command to test it out
Putting a symbol where the player clicks
By now, we should have the following:
- A playing grid
- A function to draw an X
- A function to draw an O
The symbols are being drawn in the middle of the screen, where the player turtle starts its adventure:
Now it’s time to make the game work. First, we must figure out how to use the window.onclick()
. window.onclick() binds a command to our mouse button.
Info
window.onclick(draw_x) won’t work. The function draw_x() doesn’t have the required 2 parameters - x and y. A new function needs to be created, which contains these 2 new parameters. For example, this code moves the turtle to the place on the screen where we clicked:
import turtle

window = turtle.Screen()

def move_to(x, y):
    turtle.setposition(x, y)

window.onclick(move_to)
turtle.done()
x and y parameters tell the turtle where to move/where the player has clicked!
def draw(x, y):
    # Make sure that the player turtle is not drawing on its way to where the player clicked!
    player.penup()
    player.setposition(x, y)
    player.pendown()

    draw_x()

window.onclick(draw)
Switch between the X and the O
We have created the code to only draw the X in the place where the player clicks on the screen. But how do we switch between the two symbols? We know of the if statements, which allow us to check whether something is true and we have else, which will run the code if the if statement is not true (false). We can use that in our draw function. What do we check against? We will need to create a new variable is_crosses and it’s going to be a part of window. window.is_crosses = True since our game starts with the crosses going first, we are going to set it to True. Once an X has been placed, we set the variable to False. Once an O has been placed, we set it back to True. It behaves like a switch!
Tip
These two snippets will need to be added somewhere and the comments (lines with the #) will need to be turned into code. Try to do it yourself and then check the solution!
window.is_crosses = True

...

def draw(x, y):
    player.penup()
    player.setposition(x, y)
    player.pendown()

    if window.is_crosses:
        draw_x()
        window.is_crosses = False
    else:
        draw_o()
        window.is_crosses = True

window.onclick(draw)
Final Result
After working hard through the tutorial, below is the complete code for the game. Although it works, there are plenty of things that we can improve. Stick around and scroll past the code for some Extension Tasks.
Extension Tasks
Make the game faster
Using window.tracer(0) and window.update() we can control when the screen refreshes. This makes our turtle games faster and feel more snappy.
Tip
window.tracer(0) must be added right after we create our window.
window.update() must be added inside of the draw() function.
window = turtle.Screen()
window.tracer(0)

...

def draw(x, y):
    player.penup()
    player.setposition(x, y)
    player.pendown()

    if window.is_crosses:
        draw_x()
        window.is_crosses = False
    else:
        draw_o()
        window.is_crosses = True

    window.update()

window.onclick(draw)
Warning
If you are using window.tracer(0) the window won’t update until the code reaches window.update(), which might make it seem like your game is not working. Always make sure that you have window.update() added somewhere.
Make sure the symbols are centered
To make sure the symbols are centered on the grid, we will need to round our x and y positions to the center. To not focus on the maths side of programming, this is the function that will need to be added:
def floor(value):
    return ((value + 700) // 200) * 200 - 600
This function rounds a given value to the center of the nearest slot.
def floor(value):
    return ((value + 700) // 200) * 200 - 600

def draw(x, y):
    x = floor(x)
    y = floor(y)

    player.penup()
    player.setposition(x, y)
    player.pendown()

    if window.is_crosses:
        draw_x()
        window.is_crosses = False
    else:
        draw_o()
        window.is_crosses = True

    window.update()

window.onclick(draw)
Don’t allow the player to put symbols on top of each other
Currently, the X and the O can be placed anywhere - even on top of one another. This is not how the game of Tic Tac Toe goes, let’s fix that.
Once again, let’s remember what we can use to check something in Python - the if statement. The question is: what do we check? We need to check which slots are already filled with a symbol but to do that, we must first record where the player has put a symbol. For that, we will use a list.
Firstly, let’s create an empty list that is part of window - window.previous_positions = []. This list will be empty at the start of the game since there are no Noughts or Crosses in the beginning.
Once we have created this empty list, we need to fill it. window.previous_positions.append(item) is the command to append an item to this list. Try to come up with how we could use this line of code.
window = turtle.Screen()
...
window.previous_positions = []

...

def draw(x, y):
    x = floor(x)
    y = floor(y)

    window.previous_positions.append([x, y])  # We append a list of x and y coordinate clicked on into the previous_positions list - think of it as organising a big box using smaller boxes.

    player.penup()
    player.setposition(x, y)
    player.pendown()

    if window.is_crosses:
        draw_x()
        window.is_crosses = False
    else:
        draw_o()
        window.is_crosses = True

    window.update()

window.onclick(draw)
We have a list that stores where we have put an X or an O but that list does not block us from placing more. That is because we have not added the if statement, which would check whether the current spot we are trying to place a symbol on is occupied, or not. We discussed how to check that before, try to think of a way to add it!
def draw(x, y):
    x = floor(x)
    y = floor(y)

    if [x, y] not in window.previous_positions:
        window.previous_positions.append([x, y])

        player.penup()
        player.setposition(x, y)
        player.pendown()

        if window.is_crosses:
            draw_x()
            window.is_crosses = False
        else:
            draw_o()
            window.is_crosses = True

        window.update()

window.onclick(draw)
Tip
The if [x, y] not in previous_positions: statements, checks whether the x and y coordinate pair exists in the window.previous_positions list. If not - we add it to the list and draw an X or an O in that place. After that, the position is occupied.
If we add an else, we will be able to display something to the player to tell that the position is occupied!
Add some colour!
Using the .color(), .pensize() commands we can change the colour and the line width of a turtle. For example grid.color("red") would change the grid to red and grid.pensize(10) would make the grid lines thicker. Try to explore the complete game with the extensions and add some colour to it.
Final Code with Extension Tasks
Conclusion
In conclusion, Tic Tac Toe might be a simple game that can be played with just a pen and paper but creating it in Python using the Turtle is not that simple. In this tutorial, we have successfully created a basic Tic Tac Toe game using Python, which can be played by clicking on the screen. The final code still has plenty of things that can be added - you just need to think about it.
I hope you had fun tagging along and learned something new!

